Deploy Hugo on AWS
You’re currently viewing a web page which was generated by hugo and is hosted on AWS S3. I’m using AWS Cloudfront for the CDN and Route53 for DNS. This is a pretty simple setup, but I had to do a little bit of digging to get it all working. I’m going to walk through the steps I took to get this site up and running.
Intro
I’m assuming that you have a domain name and an AWS account. I’m also assuming that you have a basic understanding of how AWS works. If you don’t, I’d recommend reading through the AWS documentation. At one point I regisered TheGolfDatabase.com in hopes of creating an app to tracking golf statistics. I never got around to it, but lets use this domain as an example.
Route53 - DNS Setup
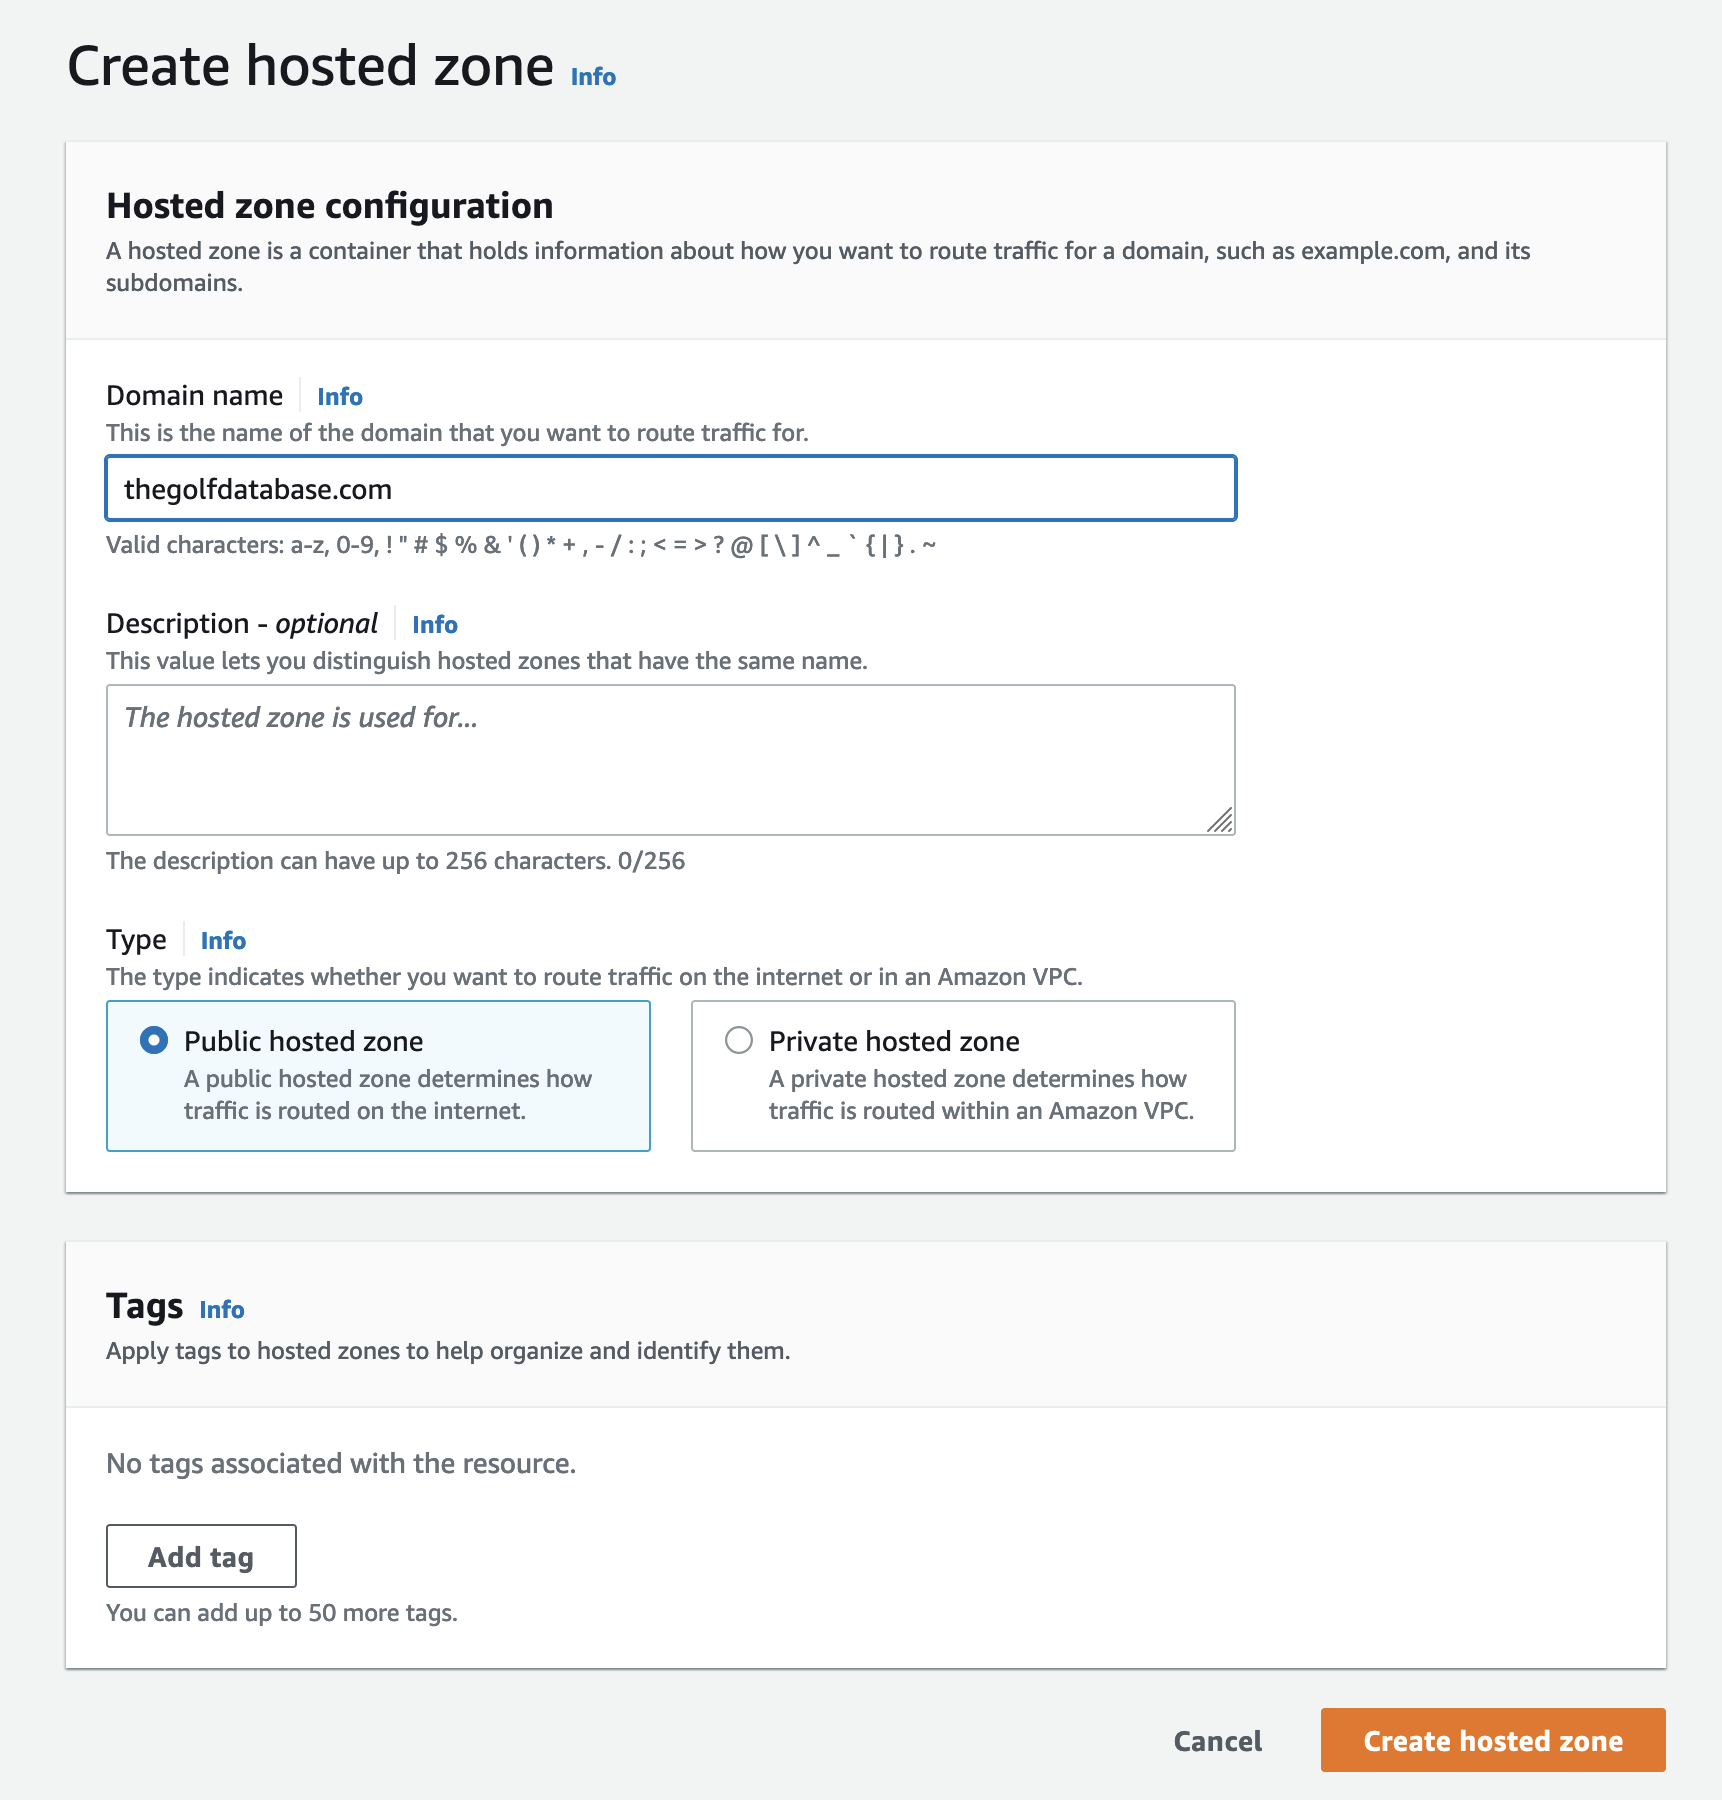
Navigate to Route 53 in your aws console and create a new hosted zone using your domain name.
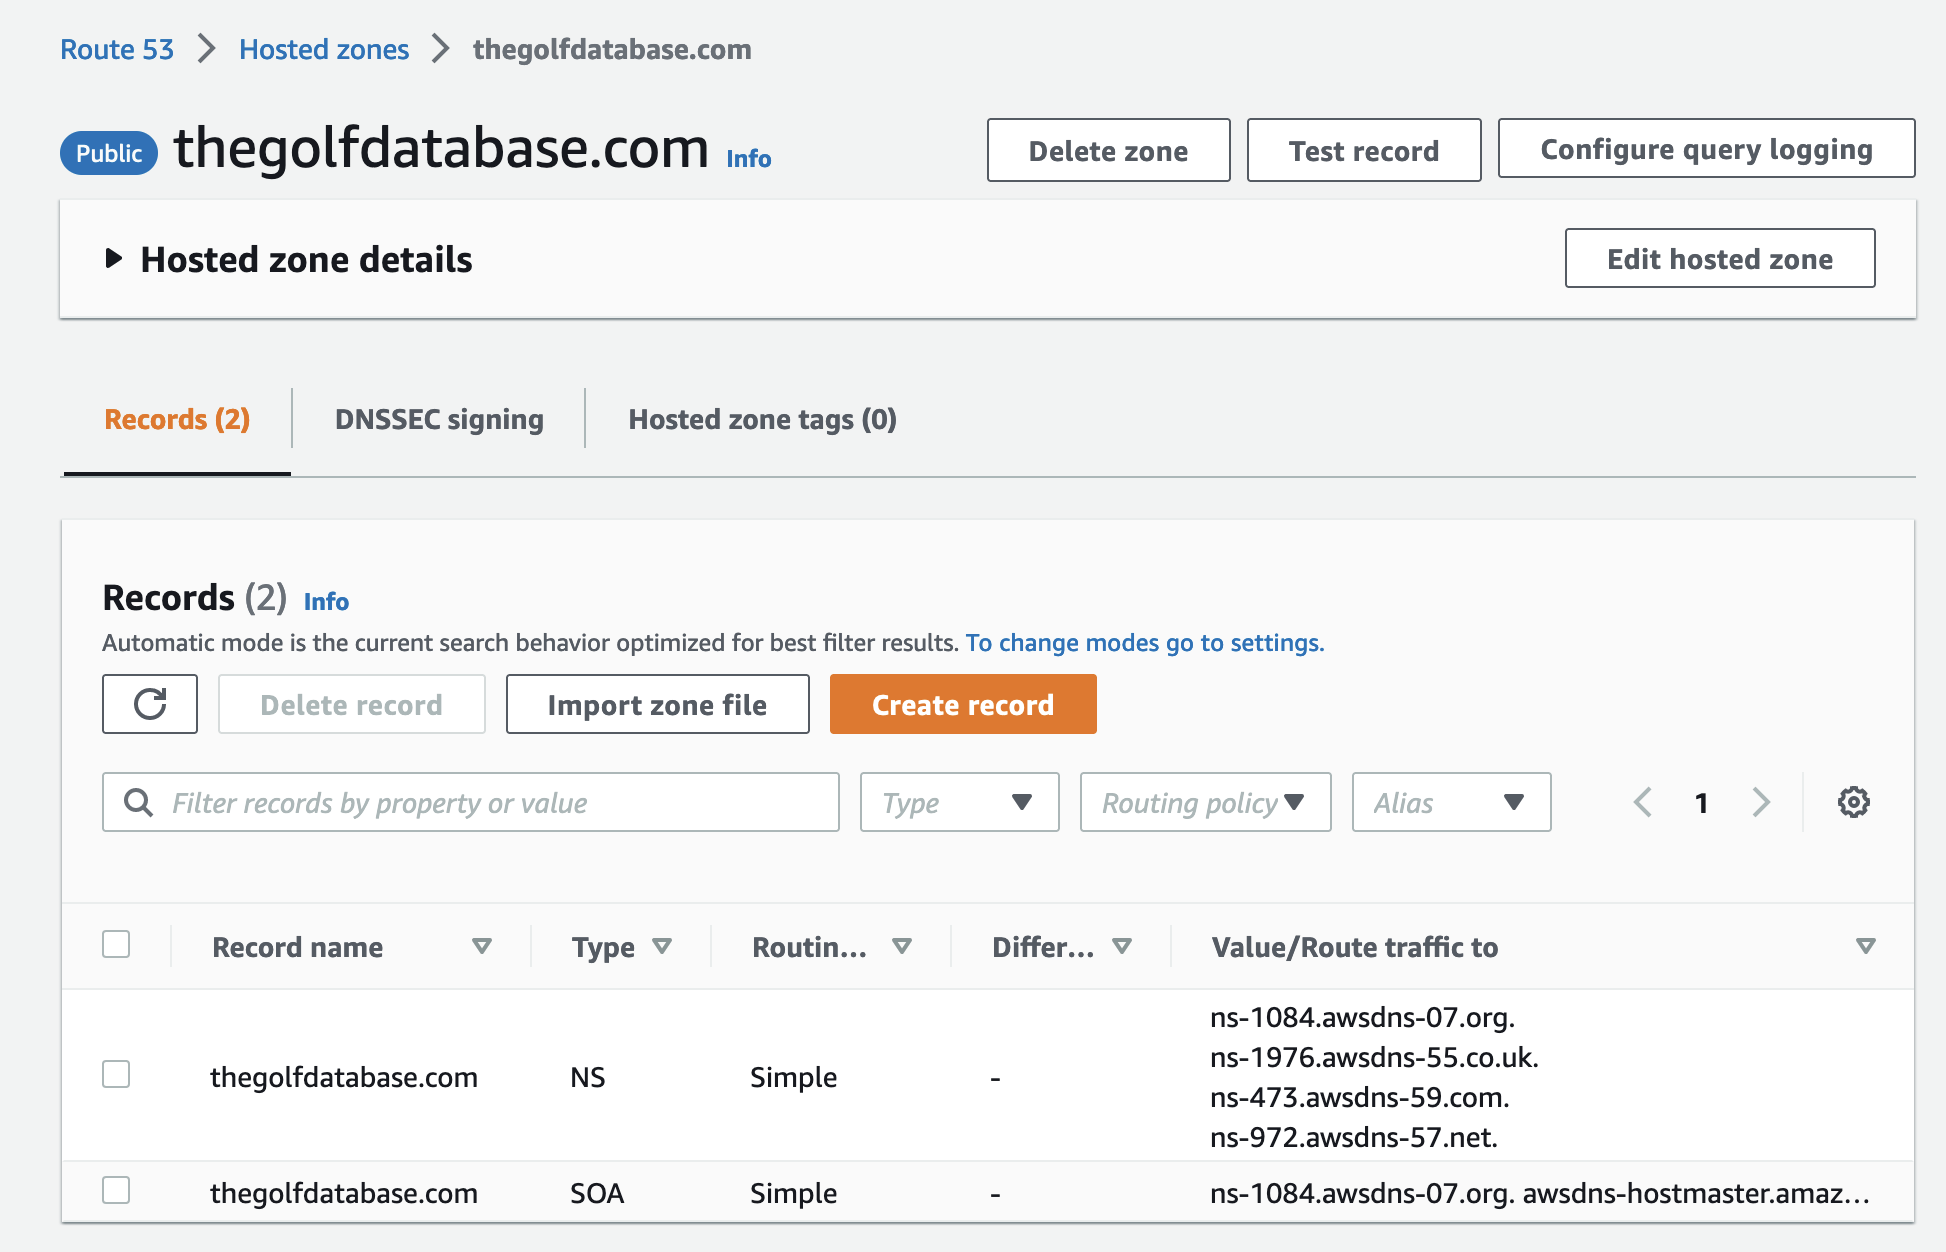
Route53 creates a few dns entries for you. Take note of the nameservers.
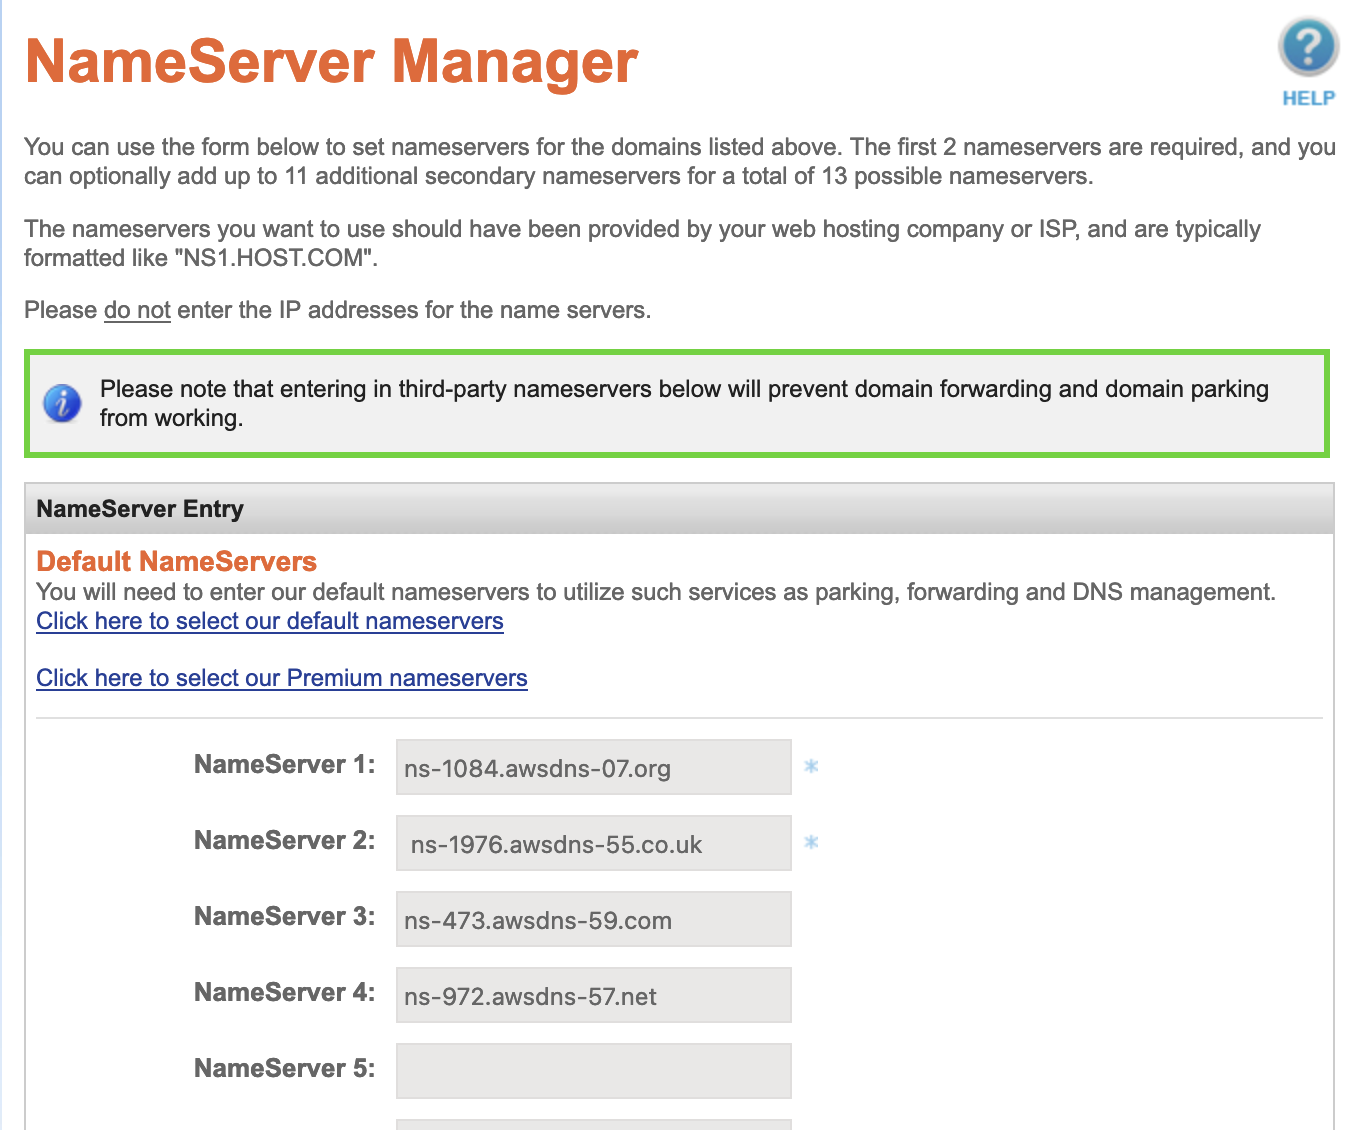
We need to change our DNS records in our host provider to use the nameservers. This will tell users that requests to your webdomain need to be forwarded to AWS. In my case I’m using NameSilo. I’ll need to login to NameSilo and change the nameservers to the ones provided by Route53. This takes some time to propagate, so let’s get it out of the way now.
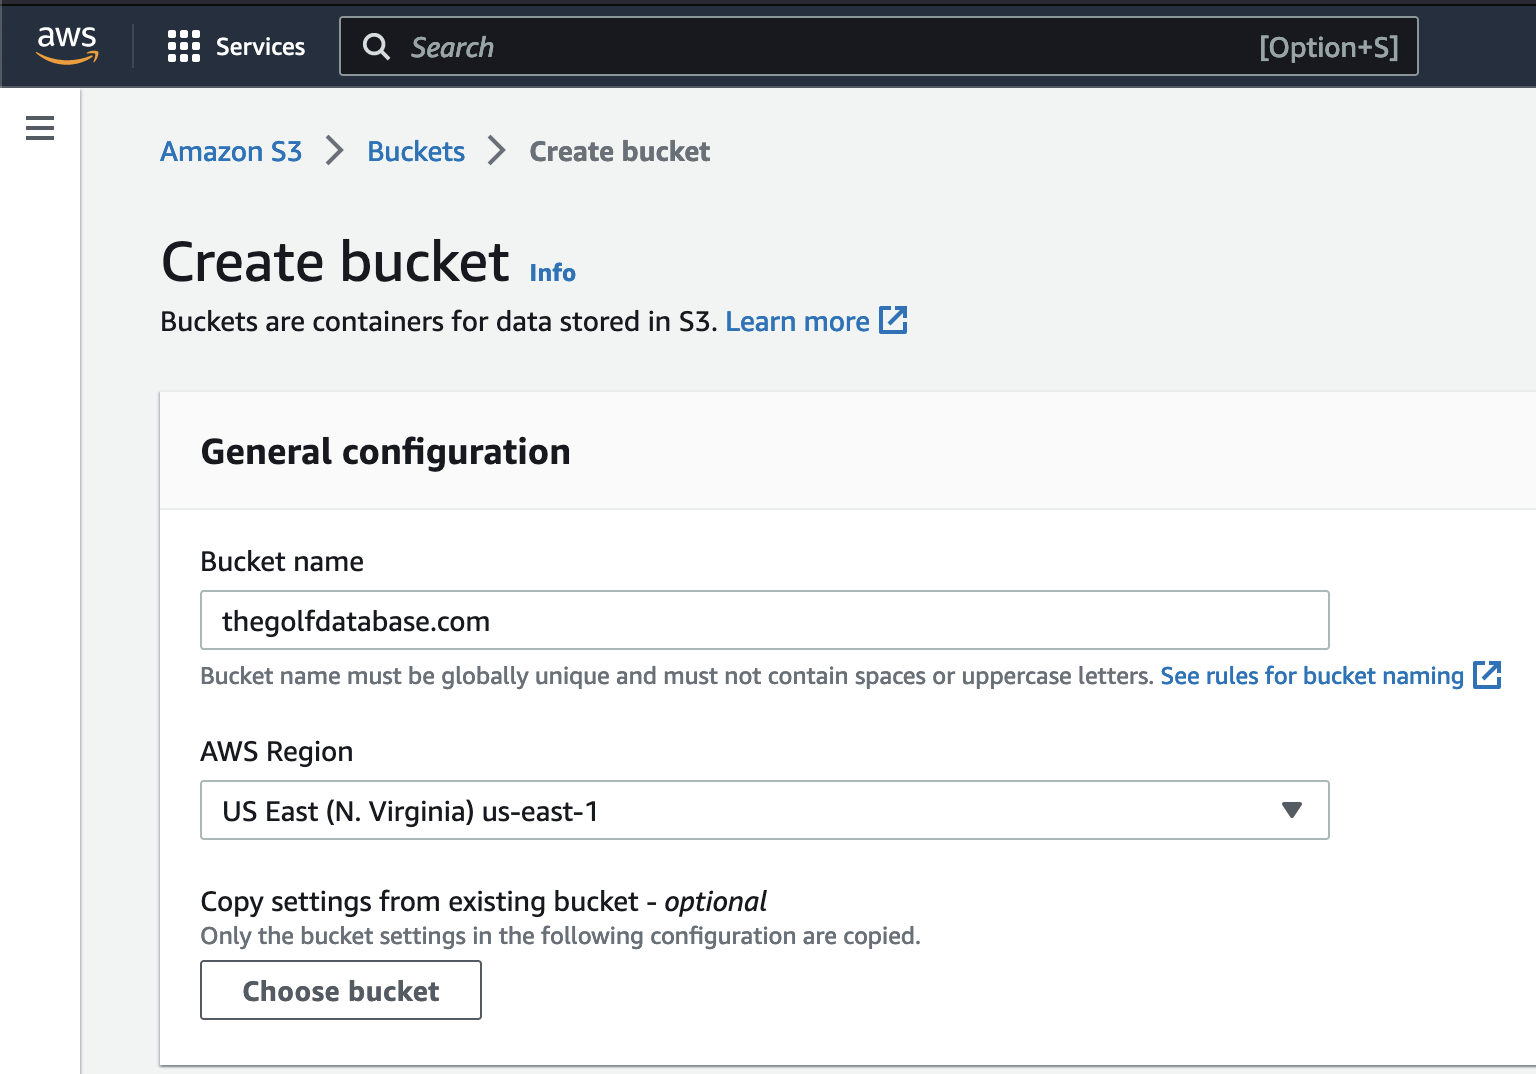
S3 - Create Bucket
Navigate to S3 in your aws console and create a new bucket. I’m going to use the same name as my domain name, We’ll need to make some changes to the bucket policy later, but the default is fine for now.
Next let’s enable static website hosting. This will allow us to access our site via the bucket url. Open your bucket in the console and go to the properties tab. Scroll down to static website hosting and enable it. We’ll need to set the index and error documents. I’m using index.html and 404.html.
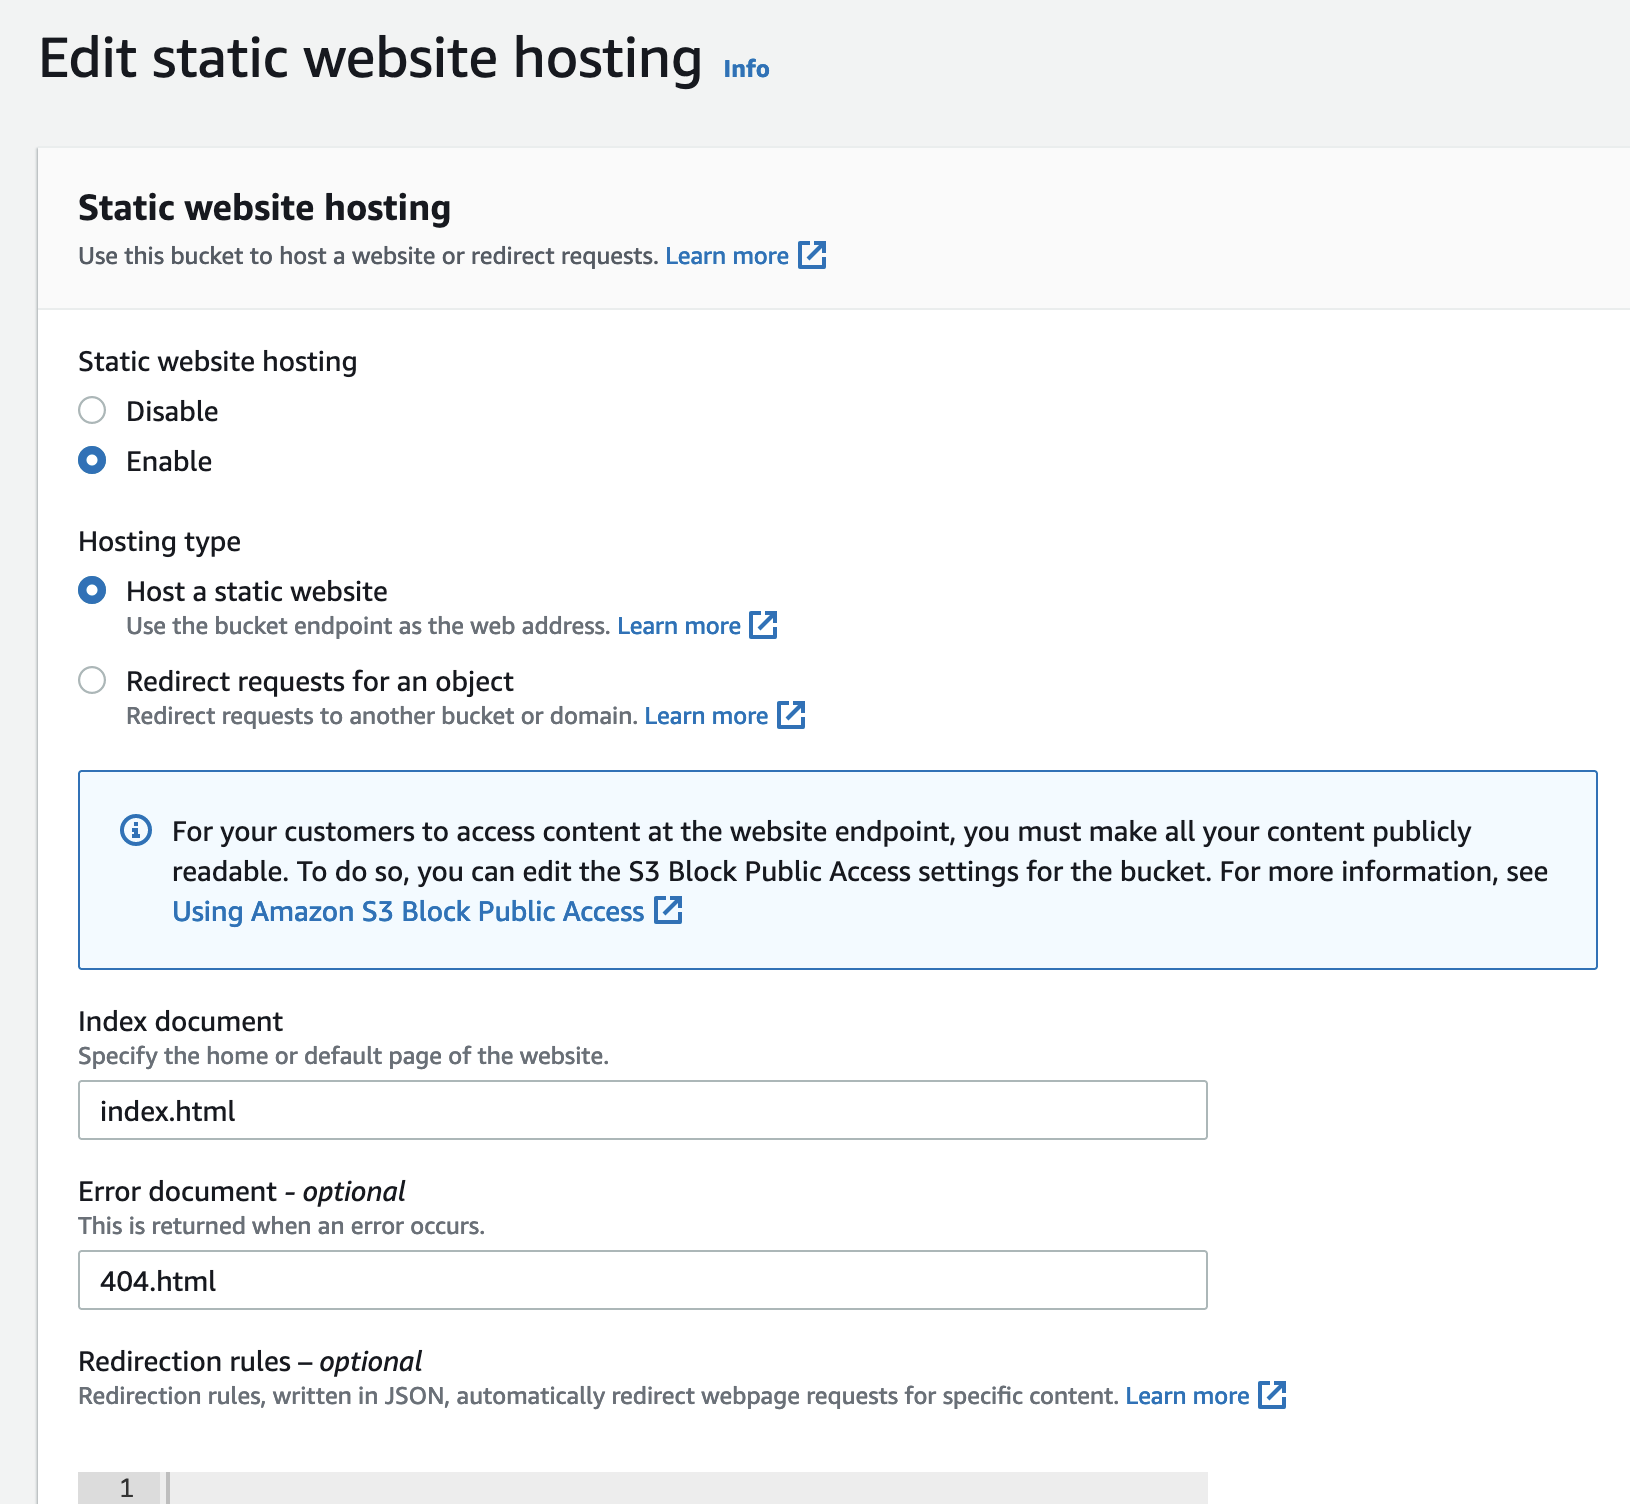
This gives us our S3 bucket url. We’ll need this later.

Cloudfront - Create Distribution
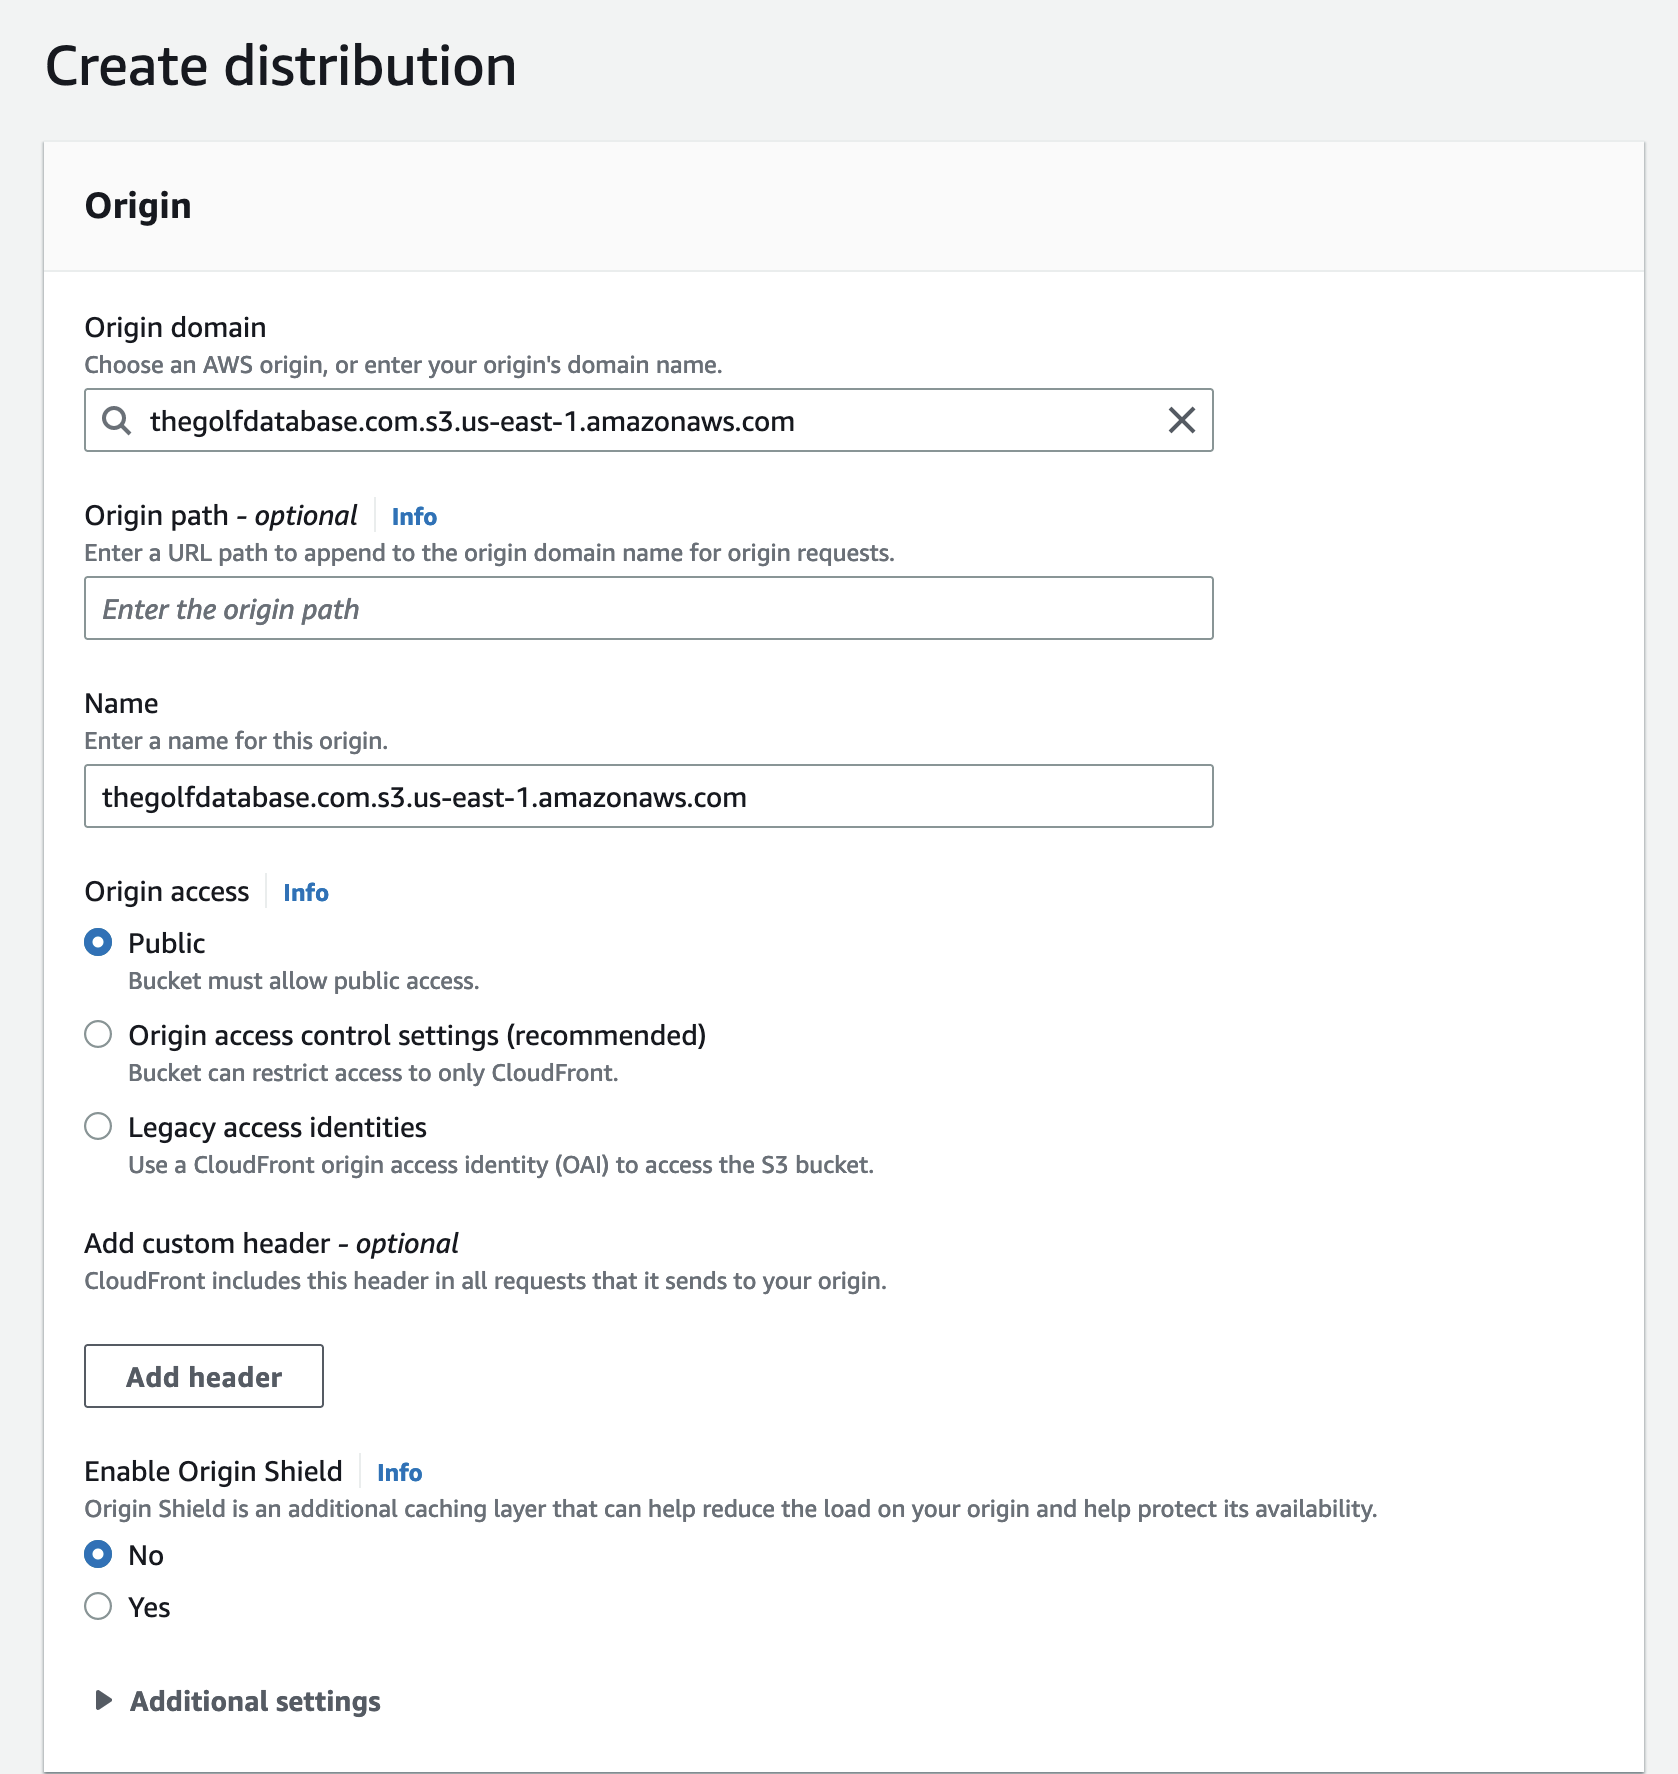
We’re going to use Cloudfront to serve our content. Navigate to Cloudfront in your aws console and create a new distribution. We’ll be using the web distribution option.
- Select your domain in the origin domain drop down
- Change viewer protocol policy to “Redirect HTTP to HTTPS”
Request a certificate in ACM if you don’t have one. It takes some time to issue, we can either wait until it’s ready or we can add the distribution now and update it later.
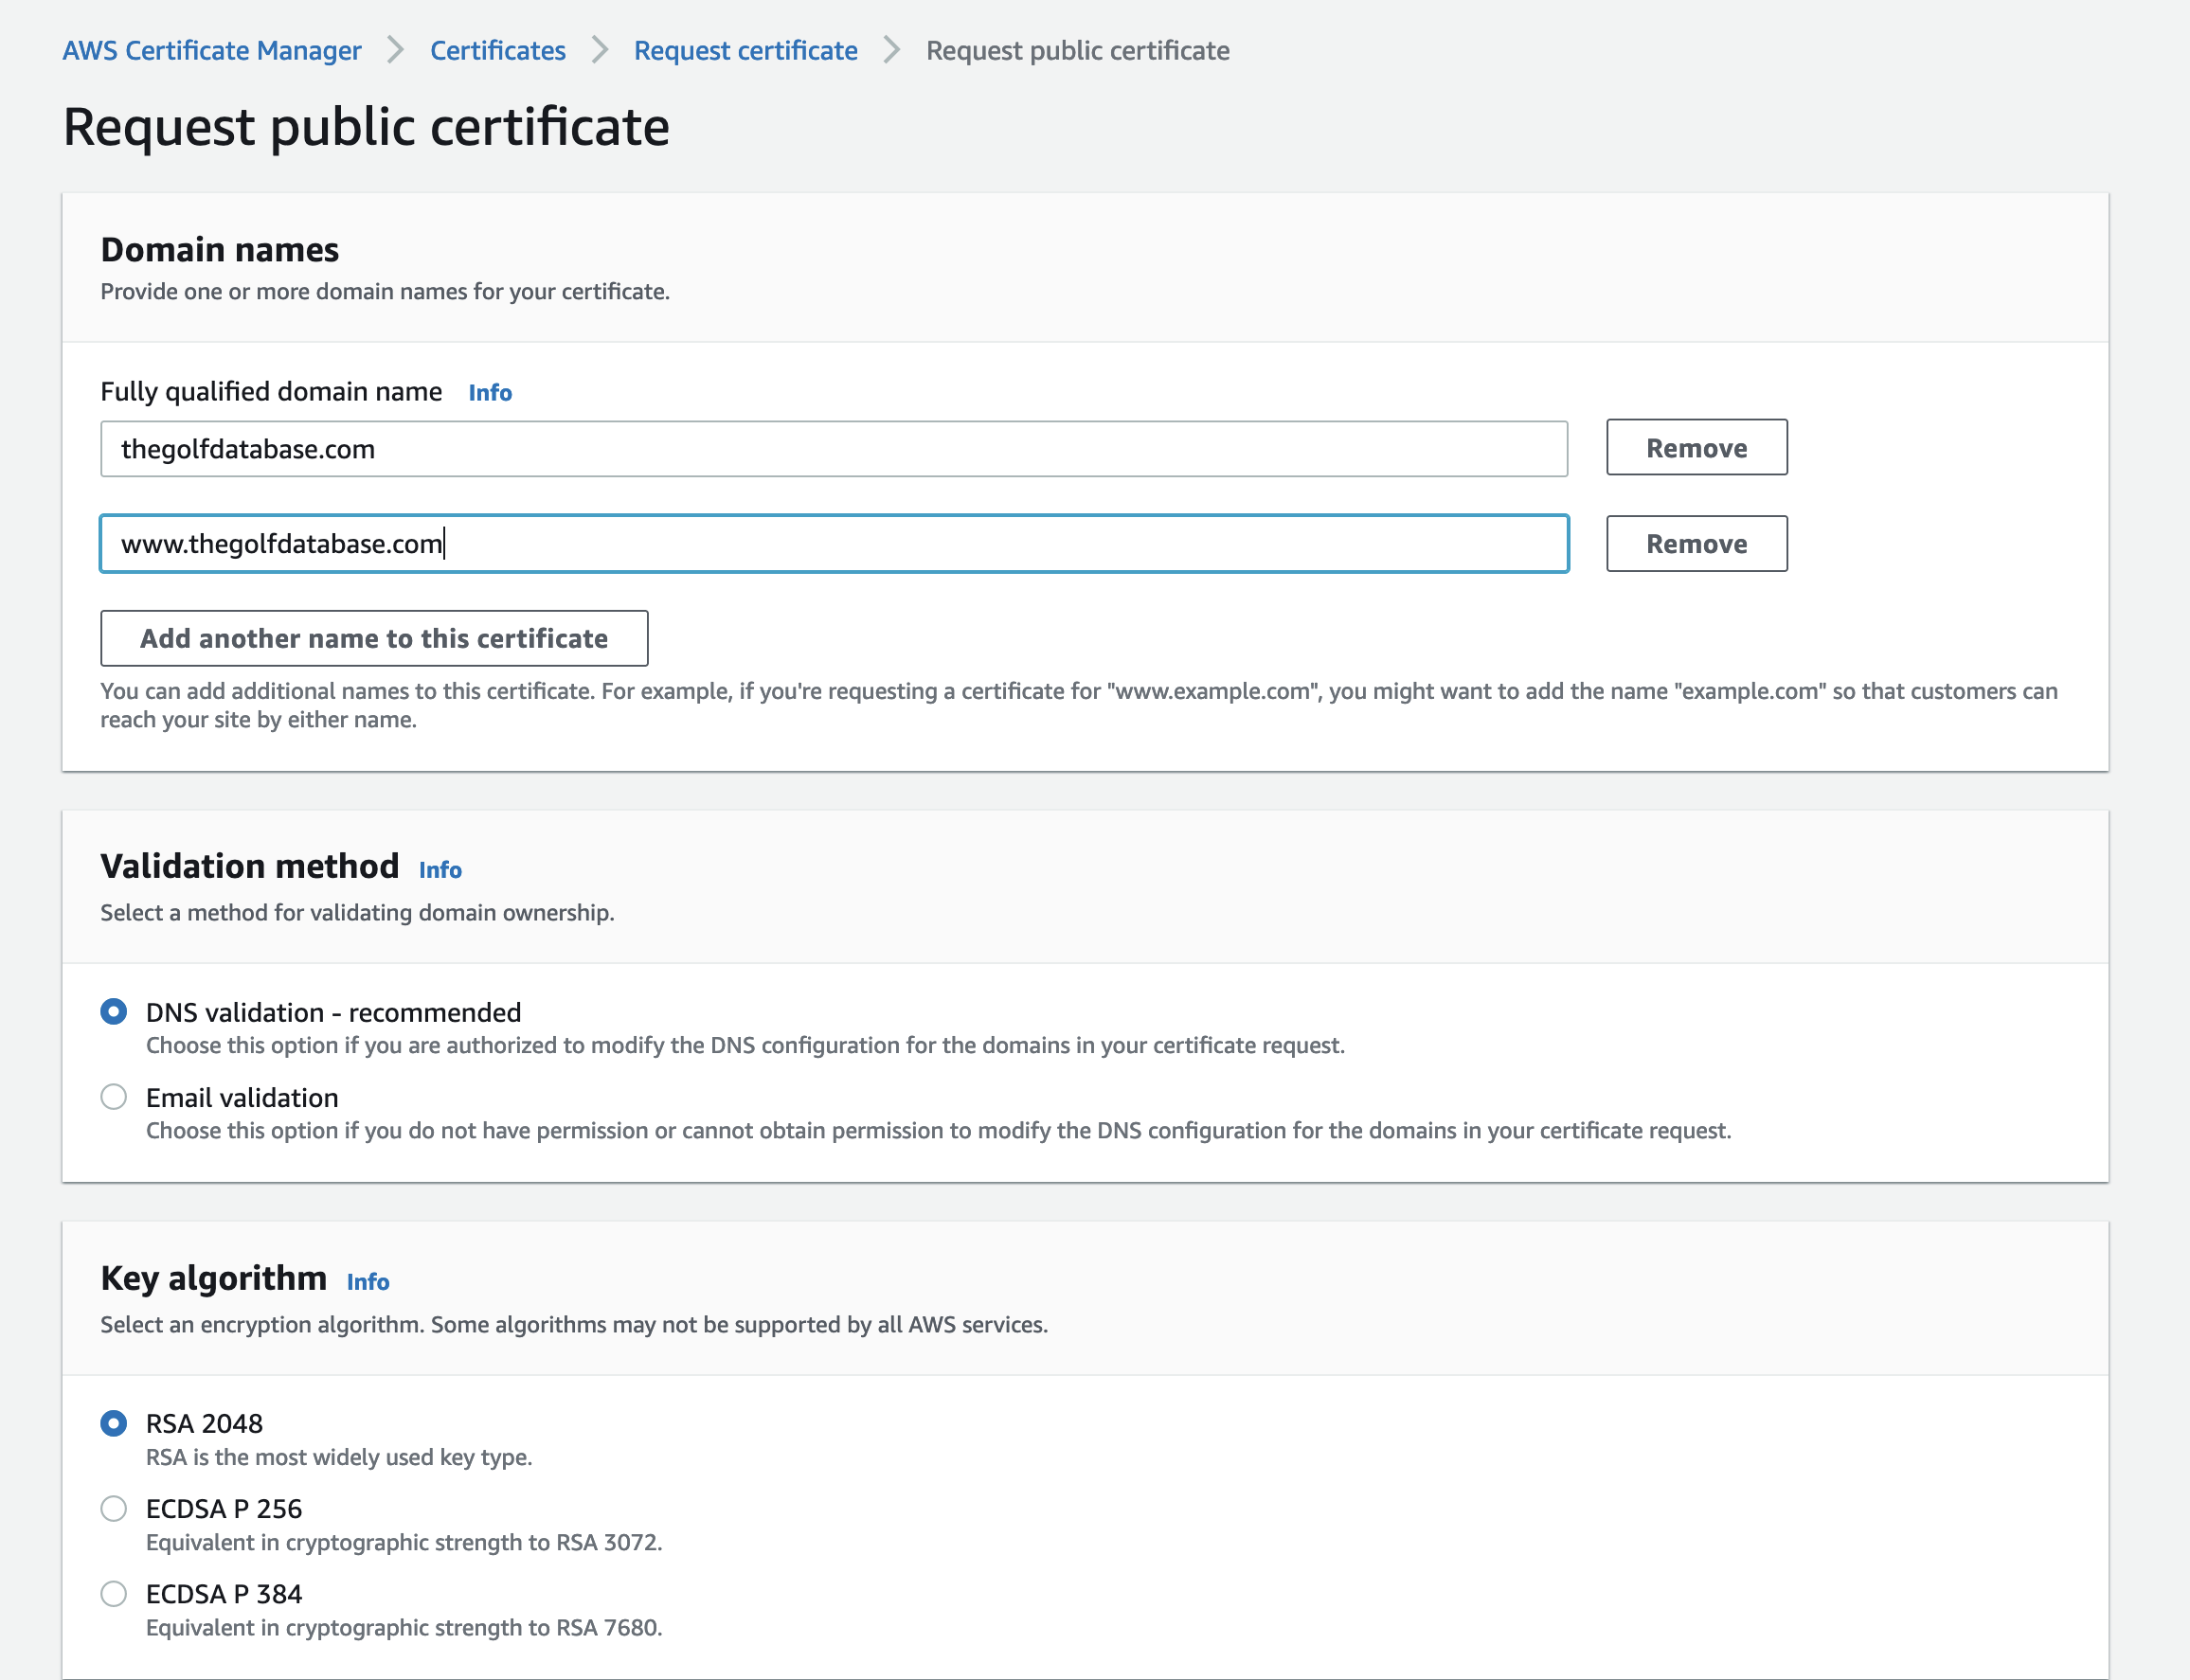

Now that our certificate is ready, we’ll continue creating our distribution. For the default root object, enter index.html. This will be the default page that is served when a user visits your domain. You’ll want to take note of both your CloudFront distribution id and domain name.

We also need to adjust the origin to point to s3-website, it’s a little annoying but if you forget this you’ll run into a 403 permissions errors.

Route53 - Update DNS Records
Add a SOA record which points to your cloudfront distribution. Add a CNAME record which forwards your www. domain to your normal domain.
S3 - Bucket Policy
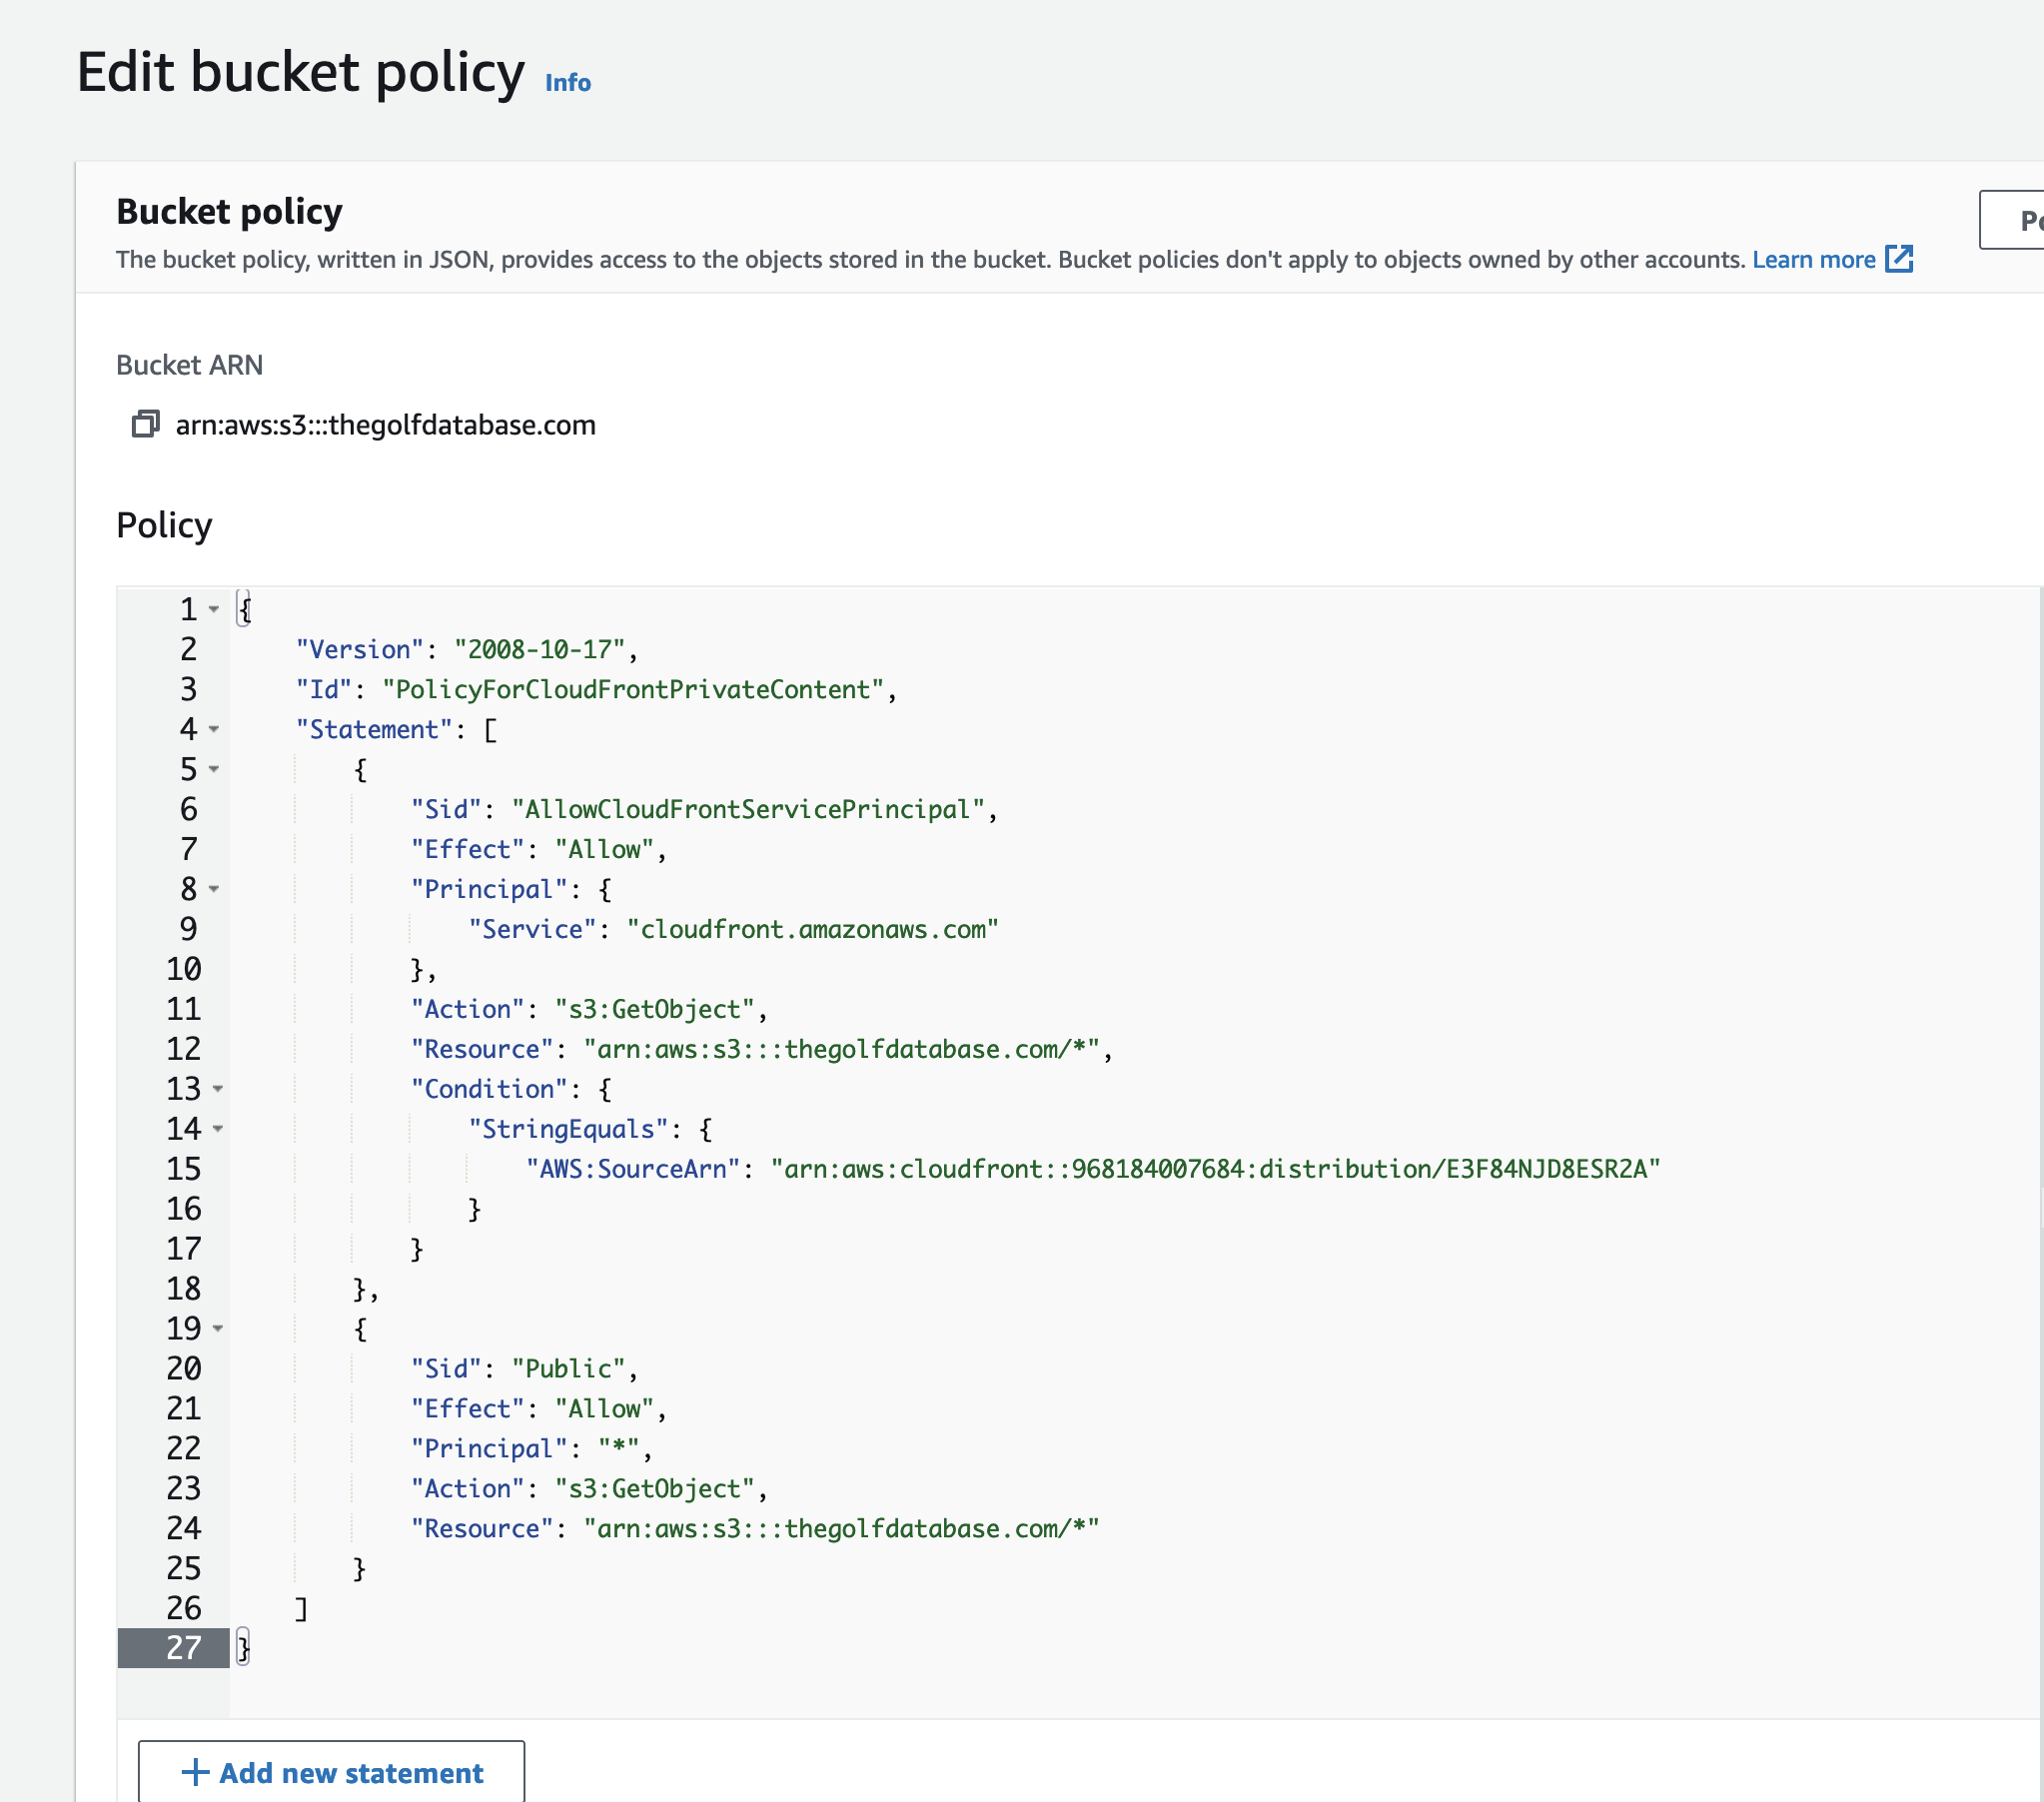
Now we need to modify our permissions so CloudFront can access our bucket objects. I’m sure you could get away with finer grained permissions, but I’m just going to give CloudFront full access to my bucket along with the general public. Open your bucket in the console and go to the permissions tab. Click on the bucket policy button and add the following policy. Make sure to replace the CloudFront distribution id with your own.
{
    "Version": "2008-10-17",
    "Id": "PolicyForCloudFrontPrivateContent",
    "Statement": [
        {
            "Sid": "AllowCloudFrontServicePrincipal",
            "Effect": "Allow",
            "Principal": {
                "Service": "cloudfront.amazonaws.com"
            },
            "Action": "s3:GetObject",
            "Resource": "arn:aws:s3:::thegolfdatabase.com/*",
            "Condition": {
                "StringEquals": {
                    "AWS:SourceArn": "arn:aws:cloudfront::968184007684:distribution/E3F84NJD8ESR2A"
                }
            }
        },
        {
            "Sid": "Public",
            "Effect": "Allow",
            "Principal": "*",
            "Action": "s3:GetObject",
            "Resource": "arn:aws:s3:::thegolfdatabase.com/*"
        }
    ]
}
Route53 - DNS Records Continued
Hugo - Create Site
We’ll follow the instructions on the Hugo website to create a new site, using the Ananke theme.
hugo new site thegolfdatabase
cd thegolfdatabase && git init
git submodule add https://github.com/theNewDynamic/gohugo-theme-ananke themes/ananke
echo "theme = 'ananke'" >> config.toml
hugo server
Hugo - Deploy
Awesome, we have a basic website displayed. Now let’s update our config.toml so we can deploy it to our S3 bucket.
baseURL = 'http://thegolfdatabase.com'
languageCode = 'en-us'
title = 'My New Hugo Site'
theme = 'ananke'

[deployment]
[[deployment.targets]]
name = "s3"
URL = "s3://thegolfdatabase.com?region=us-east-1"

[[deployment.matchers]]
# Cache static assets for 1 year.
pattern = "^.+\\.(js|css|svg|ttf)$"
cacheControl = "max-age=31536000, no-transform, public"
gzip = true

[[deployment.matchers]]
pattern = "^.+\\.(png|jpg)$"
cacheControl = "max-age=31536000, no-transform, public"
gzip = false

[[deployment.matchers]]
# Set custom content type for /sitemap.xml
pattern = "^sitemap\\.xml$"
contentType = "application/xml"
gzip = true

[[deployment.matchers]]
pattern = "^.+\\.(html|xml|json)$"
gzip = true
Next we just have to setup our AWS credentials and deploy our site. Use aws configure to setup your credentials. Then run hugo -v && hugo deploy to deploy your site.
